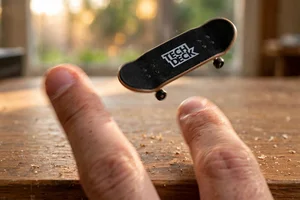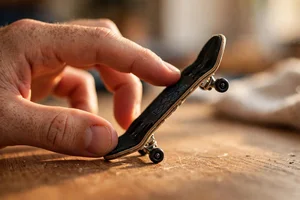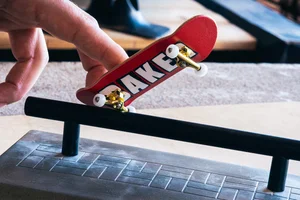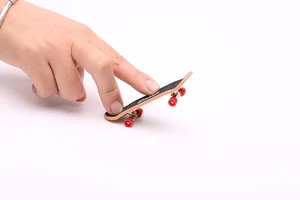
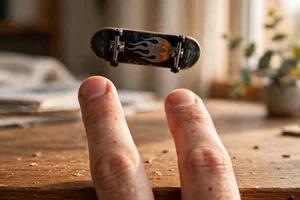
Learning how to shuvit on a Tech Deck is the best second trick after the ollie. This guide shows you the finger placement, the scoop that spins the board 180 degrees, the catch, and a 10 minute drill. You will also fix the three mistakes that stop most beginners and see what to learn next. No skatepark needed, just a flat table and ten minutes a day.
Your ollie is clean, and now you want a trick that looks impressive without needing a big jump. Learning how to shuvit on a Tech Deck is the perfect next step. The board spins 180 degrees under your fingers, stays flat the whole time, and lands back under you.
A shuvit, short for shove-it, teaches you the scoop, the sideways push your back finger gives the tail. Once your scoop is clean, pop shuvits, 360 shuvits, and varial flips all get easier, because they all use the same motion.
The best part is that you can learn it on a desk in a small space. You do not need a ramp, a rail, or a skatepark. In this guide you will learn the finger placement, the five steps, the three mistakes to avoid, and a 10 minute daily drill.
What Is a Shuvit on a Tech Deck?
A shuvit is a trick where the board spins 180 degrees under your fingers without flipping over. The board stays flat, turns halfway around, and you land back on it facing the same way you started.
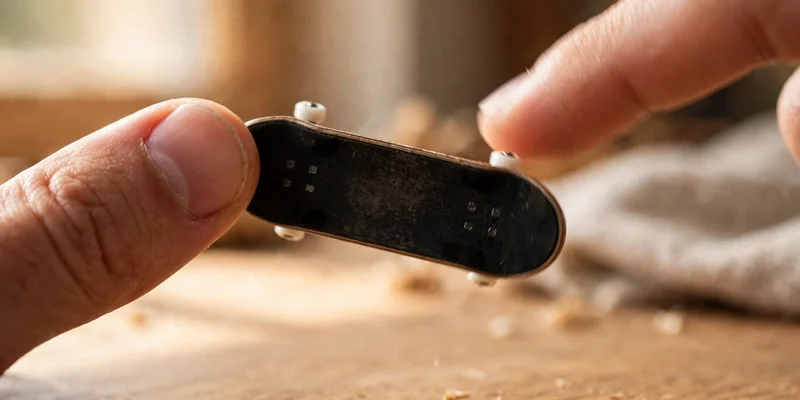
A shuvit, short for shove-it, is one of the best second tricks to learn after the ollie. It teaches a skill no other beginner trick teaches: the scoop, the sideways push your back finger gives the tail. Once you can scoop cleanly, a whole family of tricks opens up.
The scoop shows up in pop shuvits, 360 shuvits, and varial flips. Most beginners who can already ollie land a shuvit within a week.
What Do You Need Before You Learn a Shuvit?
You should be able to ollie, or at least pop the tail and land on all four wheels, before you learn a shuvit. You do not need a perfect ollie, but you need to be comfortable with your fingers on the board.
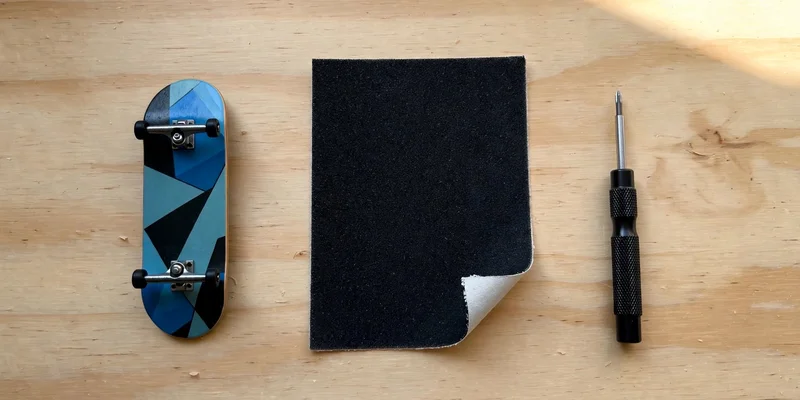
- A flat, hard surface. A desk or table is ideal. The board needs to spin freely without catching on carpet or cloth.
- A Tech Deck with free-spinning wheels. If a wheel drags, the board will not spin cleanly.
- Grip tape with some grip left. Your back finger needs to grip the tail to scoop it. Worn, smooth grip makes the scoop slip.
- A little space. The board spins in place, so you do not need a long run-up. Clear the area around it.
If you have not learned the ollie yet, start with our guide on How to Ollie on a Tech Deck, then come back here. If you are still choosing a board, read our guide to the best Tech Deck to buy in 2026 first.
Where Do Your Fingers Go for a Shuvit?
Finger placement for a shuvit is close to ollie placement, with one important change. Your back finger moves to the edge of the tail so it can scoop sideways, and your front finger stays light so it does not block the spin.
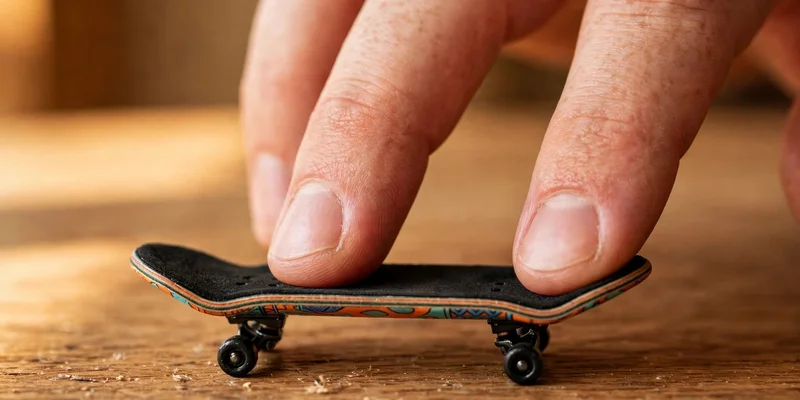
Step 1: Put Your Middle Finger on the Tail Edge
Place your middle finger on the tail, toward the back edge and slightly to one side. Your fingertip should sit near the corner of the tail, not in the centre. This finger does the scooping, so it needs a spot where it can push the tail sideways.
Step 2: Put Your Index Finger Near the Middle
Place your index finger near the middle of the board, just behind the front bolts. This finger stays light. Its job is to guide the board and catch it after the spin, not to push it. If it presses too hard, it will stop the spin.
Step 3: Keep Your Hand Low and Relaxed
Keep your hand close to the board and your fingers slightly curved. A tense hand cannot scoop smoothly, so keep your wrist loose.
Quick test: scoop the tail lightly without landing. If the board spins flat, your placement is right.
How Do You Shuvit on a Tech Deck Step by Step?
Here is a simple 5-step process to land your first shuvit. Each step builds on the last one, so practise them in order. Take your time with the scoop, because rushing it ruins the spin.
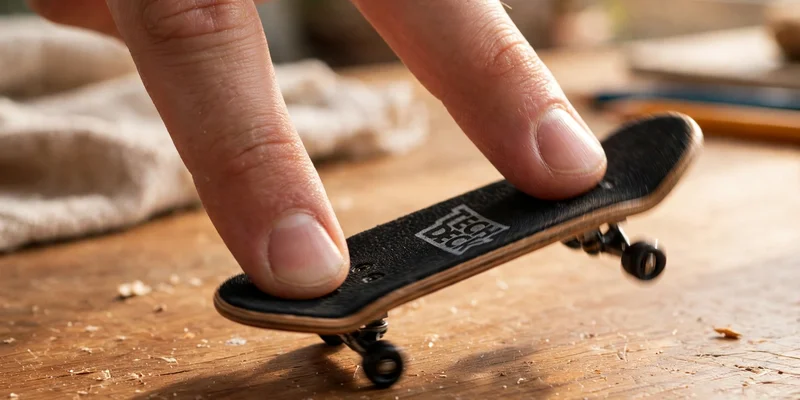
Step 1: Set Your Fingers and Stay Still
Set your fingers in the position above. Learn it from a standstill, not rolling, so you can watch the spin without chasing the board. Keep the board flat and your fingers light.
Step 2: Scoop the Tail
Push the tail with your middle finger in a quick scooping motion: down and back, in a small curve. The board should start to spin. Do not drag your finger. Flick it and let go.
Tip: the direction matters. For a standard shuvit, the tail scoops behind you and the board spins so the nose turns toward you. Practise the scoop slowly a few times, just to see the board spin.
Step 3: Lift Your Fingers Slightly
As the board starts to spin, lift both fingers just a little, so the board can turn freely. If your fingers stay down, they will stop the spin halfway. Practise the lift and the scoop together.
Step 4: Watch for the 180-Degree Turn
Watch the board spin until it has turned halfway around, 180 degrees, and the nose and tail have swapped places. Do not try to catch it early. Let it complete the turn.
Step 5: Catch and Land on All Four Wheels
As the board completes the spin, bring both fingers down over the bolts and catch it. Land on all four wheels at the same time, then roll forward. To turn it into a pop shuvit later, add a sharp ollie style pop at the same moment as the scoop.
What Are the Most Common Shuvit Mistakes?
Most shuvits fail for three reasons. Each one has a simple fix, so find the problem that matches yours and try the fix. Fix one mistake at a time instead of changing everything at once.
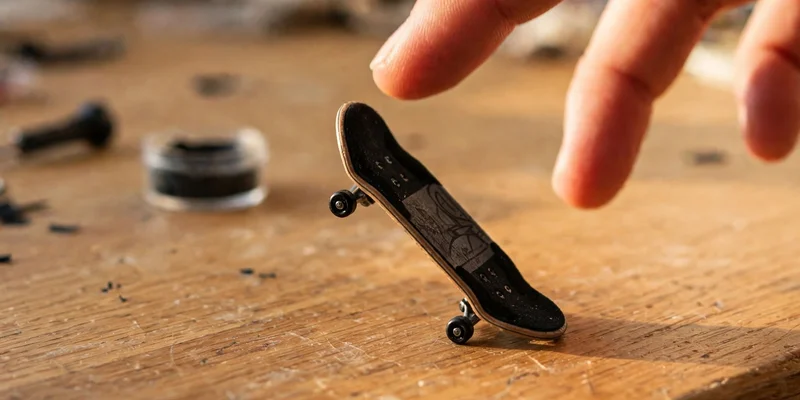
1. The Board Only Spins 90 Degrees
The problem: The board turns a quarter turn and stops, or you land with it sideways.
The fix: Your scoop is too weak or too short. Scoop faster, down, back, and around in a curve. Check that your index finger is not pressing down.
2. The Board Flips Over
The problem: The board flips instead of spinning flat.
The fix: Your middle finger is pushing straight down, or your index finger is flicking the edge. Move your middle finger to the tail corner and scoop sideways.
3. You Cannot Catch the Board
The problem: The board spins, but by the time you try to catch it, it has already landed or slid away.
The fix: You are lifting your hand too high or looking away. Keep your hand low and watch the board the whole time. Catch it as soon as it reaches 180 degrees.
How Can You Practise the Shuvit in 10 Minutes a Day?
Ten focused minutes a day beats an hour of random trying. Do this drill once a day and count your clean landings. Short daily practice builds the muscle memory that one long session cannot.
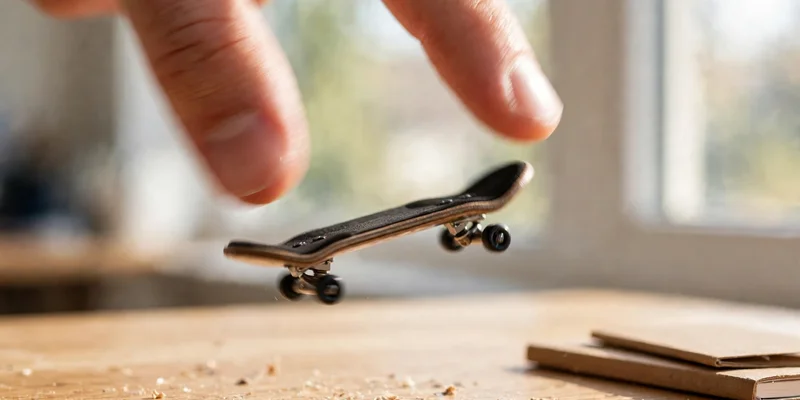
- Minutes 0 to 2: Scoop only. Do not try to land. Just scoop and watch the board spin ten times, so your fingers learn the motion.
- Minutes 2 to 6: Slow shuvits. Scoop, lift, catch, land. Count clean landings out of ten.
- Minutes 6 to 8: Shuvit and roll. Land the shuvit and roll forward a short distance. This teaches you to land and keep moving.
- Minutes 8 to 10: Five in a row. Try to land five shuvits in a row. If you miss one, start the count again.
Riders who practise ten minutes a day land a clean shuvit in one to two weeks. Riders who practise once a week take much longer.
What Are the Advantages and Disadvantages of the Shuvit?
The shuvit is a great second trick to learn, but it has a few downsides too. Here is an honest look at both sides before you start. Knowing both sides helps you practise with the right expectations.
Advantages
- It unlocks the scoop family of tricks. Pop shuvits, 360 shuvits, and varial flips all use the same motion, so a clean shuvit makes the next trick easier.
- You can learn it anywhere. A shuvit needs only a flat table and ten minutes a day, so you do not need a skatepark, a ramp, or any extra gear.
- It builds real board control fast. The scoop, the lift, and the catch teach timing and balance that carry into every trick after it.
Disadvantages
- The scoop takes time to learn. Most beginners need one to two weeks of daily practice before their shuvit spins a full 180 degrees.
- It is hard on the tail grip. Daily scooping wears the tail grip, so you will replace the grip tape more often.
- A bad scoop builds a bad habit. If you scoop straight down, the board flips, and that wrong motion is hard to unlearn.
What Should You Learn After the Shuvit?
Once you can land five clean shuvits in a row, you are ready for the next tricks. Learn them in this order so each one builds on the last.
- How to Kickflip on a Tech Deck. The same ollie, plus a flick that flips the board. Learn this once your shuvit is consistent.
- How to 50-50 Grind on a Tech Deck. The ollie gets you onto the rail, and both trucks slide along it. A shuvit into a grind is a classic line.
- Tech Deck Tricks: The Complete List. See the full order from beginner to pro, and pick your next goal.
What Do Beginners Ask About the Shuvit?
Here are the questions beginners ask most about the shuvit. Each answer is short and direct, so you can find your fix fast.
Is a shuvit easier than an ollie?
For many people, yes. A shuvit needs less height and less timing than a clean ollie, so it feels easier at first. But it needs a scoop, a new movement for your fingers. If you can already ollie, you will usually land one within a few days.
How long does it take to learn how to shuvit on a Tech Deck?
Most beginners who can already ollie land their first shuvit within a few days. A clean shuvit, with a full 180 degree spin and a flat four wheel landing, usually takes one to two weeks of ten minute daily practice. Fix one mistake at a time.
Why does my shuvit keep flipping?
Your back finger is pressing straight down instead of scooping sideways, or your front finger is flicking the edge of the board. Move your back finger to the corner of the tail and scoop in a curve, not straight down. Keep your front finger flat and light.
Should I learn a shuvit rolling or standing still?
Learn it standing still first. The spin is easier to see and catch when the board is not moving forward, and you can focus on the scoop alone. Once you can land it still five times in a row, try it with a slow roll.
What is the difference between a shuvit and a pop shuvit?
A shuvit stays low, and the board spins close to the table. A pop shuvit adds a sharp ollie style pop at the same moment as the scoop, so the board jumps while it spins. Learn the regular shuvit first, then add the pop.
How do I know when the board has turned 180 degrees?
Watch the graphic or the grip pattern on the board. When the nose and tail have swapped places, the board has turned 180 degrees and it is time to catch it. With practice, you will feel the timing in your fingers and catch it without thinking.
Do I need to ollie first to learn how to shuvit on a Tech Deck?
You do not need a perfect ollie, but you should be able to pop the tail and catch the board first. That basic control makes the shuvit much easier to learn. If you cannot ollie yet, spend a few days on it first, then come back here.
Why does my board only spin 90 degrees?
Your scoop is too weak or too short, or your index finger is pressing down and stopping the spin. Scoop faster and with a fuller motion, down, back, and around in a curve. Lift both fingers as the board turns, and keep your index finger light.
Conclusion
So, in this article, we covered how to shuvit on a Tech Deck in detail. You learned the finger placement, the scoop, the five steps, the three mistakes that stop most beginners, and a 10 minute drill that builds the trick day by day. You also saw the honest advantages and disadvantages, so you know what to expect before you start.
Here is my honest advice. Do not chase a fast spin in your first week. Spend ten minutes a day on slow, clean shuvits, and the speed will come on its own. Your scoop is the base for pop shuvits and 360 shuvits, so a solid shuvit pays you back for months.
Now go practise your shuvit for ten minutes and try to land three clean ones in a row. Once you can do that, your next trick is waiting, and your fingers already know the hardest part.
TechDeckTrick.com is an independent guide and is not affiliated with or endorsed by Tech Deck or Spin Master.