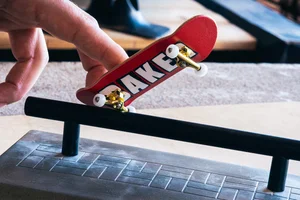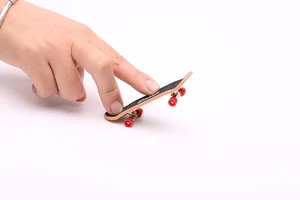
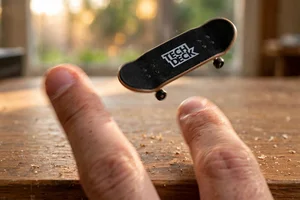
Learning how to pop shuvit on a Tech Deck is the next step after your ollie. This guide shows you the finger placement, the pop that lifts the board, the scoop that spins it 180 degrees, and the catch that lands it flat. You will also fix the five mistakes that stop most beginners and follow a 10 minute drill that builds a clean pop shuvit in a few weeks.
Your board spins, but it lands upside down. Or it spins halfway and stops. Sound familiar? That is how every pop shuvit starts. Learning how to pop shuvit on a Tech Deck is the first spin trick most riders learn, and it opens the door to kickflips and 360 flips. A pop shuvit is a shuvit with a pop. You pop the tail, scoop your back finger to spin the board 180 degrees, and catch it on all four wheels. The timing is the hard part. Most beginners land a small pop shuvit in a few days, and a clean, level one takes two to four weeks. In this guide you will learn the finger placement, the five steps, the five mistakes to avoid, and a 10 minute drill. Let’s get your board spinning.
What Is a Pop Shuvit on a Tech Deck?
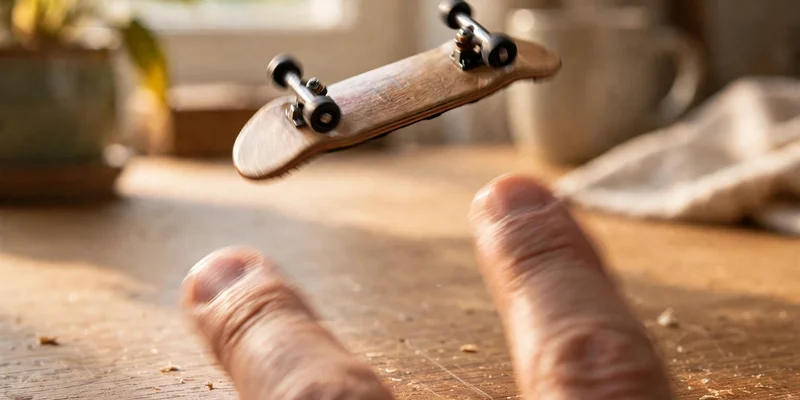
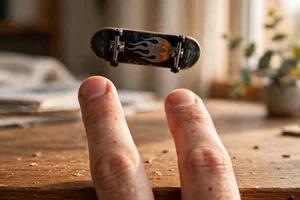
A pop shuvit is a spin trick where your Tech Deck pops off the table, spins 180 degrees in the air, and lands back on all four wheels. You pop the tail with your middle finger and scoop it sideways to start the spin. The board turns flat under your fingers, and you catch it as it comes around.
A pop shuvit is not about strength. It is about timing. You pop, scoop, and catch in one smooth motion, and the timing matters more than force.
Think about it this way. A shuvit spins the board without leaving the table. A pop shuvit adds the ollie pop, so the board spins in the air instead of scraping across the desk.
What Do You Need Before You Learn a Pop Shuvit?
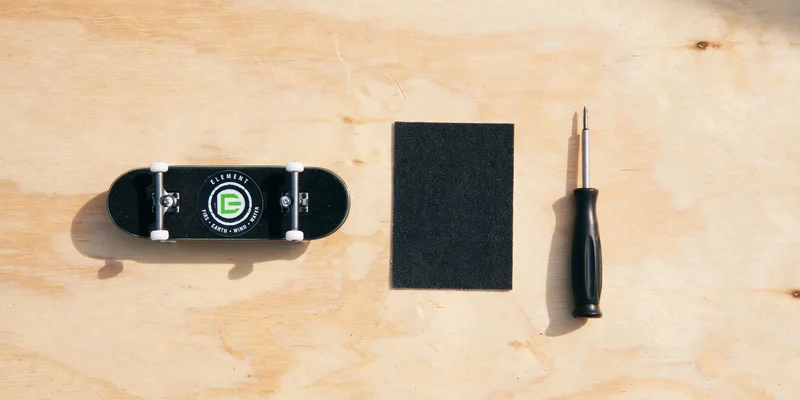
You need a flat surface, a Tech Deck in good shape, and ten minutes without distractions. You also need a steady ollie, because the pop shuvit starts with the same pop.
- A clean ollie you can land most of the time. The pop shuvit starts with the same sharp pop as an ollie. If you can land five clean ollies in a row, you are ready to add the spin.
- A Tech Deck with working trucks and wheels. Check that all four wheels spin. If a wheel is stuck, the board will wobble in the air and land crooked.
- Grip tape that still grips. If the grip is smooth or peeling, your back finger will slip during the scoop. Replace it if it feels shiny or worn.
- A flat, hard surface with space to land. A desk, a table, or a smooth floor works best. Soft surfaces like a bed or carpet stop the tail from popping cleanly.
If your ollie still needs work, read our guide to how to ollie on a Tech Deck first, then come back here. The pop shuvit uses the same pop, so a solid ollie makes this trick much easier to learn.
Where Do Your Fingers Go for a Pop Shuvit?
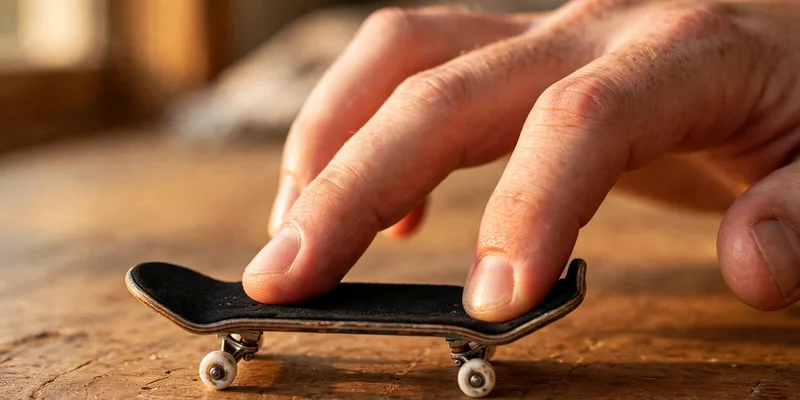
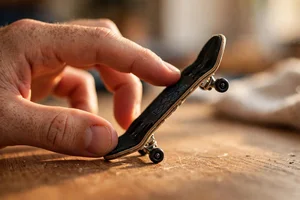
Your index finger is your front foot and your middle finger is your back foot. The setup looks like an ollie, but your back finger sits a little differently to scoop the spin.
Step 1: Put Your Middle Finger on the Tail, Ready to Scoop
Place your middle finger on the tail, near the centre, with your fingertip slightly toward the pocket where the tail meets the deck. This finger pops and scoops, so it presses down sharply and then pushes sideways in one motion.
Step 2: Put Your Index Finger Near the Middle of the Board
Place your index finger near the middle of the board, just behind the front bolts. Your fingertip should rest flat on the grip tape with light pressure. This finger stays mostly still, so it guides the board and catches it as the spin finishes.
Step 3: Keep Your Fingers Relaxed but Ready
Both fingers should be slightly curved, not stiff and straight. Stiff fingers cannot scoop smoothly, and they make the board shoot out from under you. Keep your hand low, close to the board, and keep your wrist loose.
Here is a quick test. Scoop the tail lightly without popping. If the board turns smoothly, your placement is right.
How Do You Pop Shuvit on a Tech Deck Step by Step?
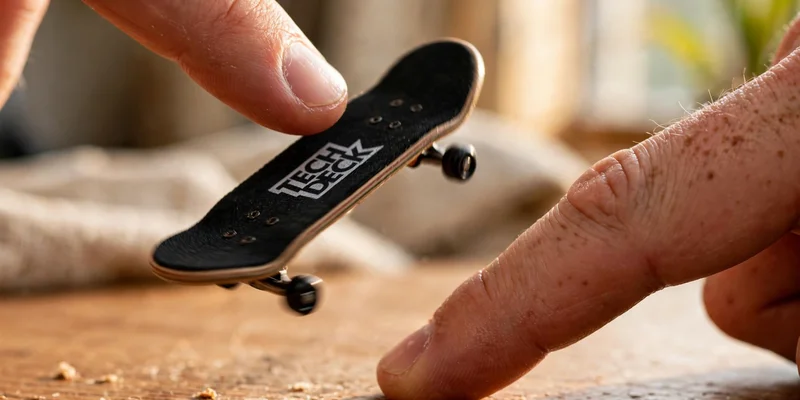
Here is a simple 5-step process to land your first pop shuvit. Each step builds on the last one, so practise them in order.
Step 1: Roll Forward Slowly
Start with the board rolling forward at a slow, steady speed. You can learn from a standstill too, but a slow roll makes the timing feel natural.
Step 2: Pop the Tail Down
Press down sharply with your middle finger on the tail. The tail should hit the table with a clear tap. Think of it as a snap, not a push.
Step 3: Scoop Your Back Finger Sideways
As soon as the tail hits, push your middle finger sideways toward your palm, like scooping ice cream. The scoop spins the board 180 degrees under your fingers.
Tip: pop, then scoop, in one smooth motion. If you scoop too early, the board spins before it leaves the ground.
Step 4: Let the Board Spin and Stay Above It
As the board spins, lift your hand a little and stay above it. Do not chase the board with your fingers. Let it turn flat under your hand.
For a small pop shuvit, the board only needs to rise a few centimetres. Height comes later. First, aim for a full 180 degree spin, even if it is low.
Step 5: Catch the Board on All Four Wheels
As the board comes around, bring both fingers down over the bolts and catch it as all four wheels touch at the same time. Bend your fingers slightly on landing to absorb the impact.
What Are the Most Common Pop Shuvit Mistakes?
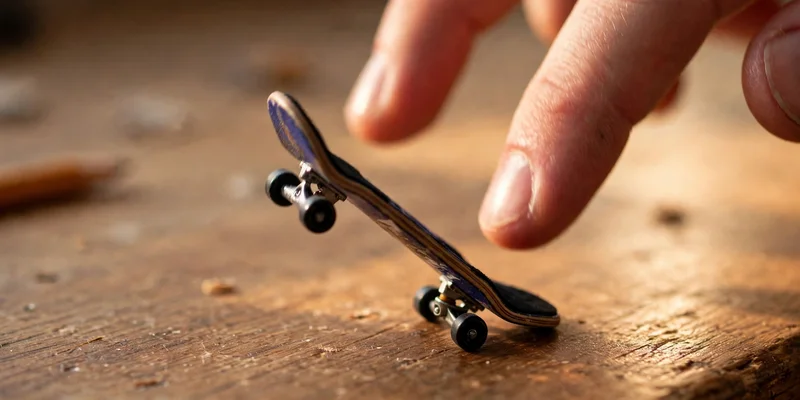
Most pop shuvits fail for five reasons. Each one has a simple fix, so find the problem that matches yours and try the fix.
1. The Board Spins Past 180 Degrees
The problem: You catch the board after it has spun too far, and it lands backwards.
The fix: You are scooping too hard. Scoop gently, and catch the board the moment the nose points the right way.
2. The Board Barely Spins at All
The problem: The board pops up and comes down facing the same way, with no spin.
The fix: Your scoop is too soft or too late. Pop first, then scoop firmly in one quick motion.
3. The Board Flips Over in the Air
The problem: The board turns on its side or upside down instead of spinning flat.
The fix: Your index finger is flicking off the edge instead of staying flat. Keep it flat on the grip, and scoop with your middle finger only.
4. You Land on Only Two Wheels
The problem: The board lands on its front or back wheels only, then tips over.
The fix: Your fingers are not centred over the bolts at landing. As the board comes around, bring both fingers back over the bolts.
5. Your Pop Shuvit Is Very Low
The problem: The board barely leaves the table, and the spin scrapes the desk.
The fix: Pop harder and faster. Snap the tail down, then lift your hand with the board.
How Can You Practise the Pop Shuvit in 10 Minutes a Day?
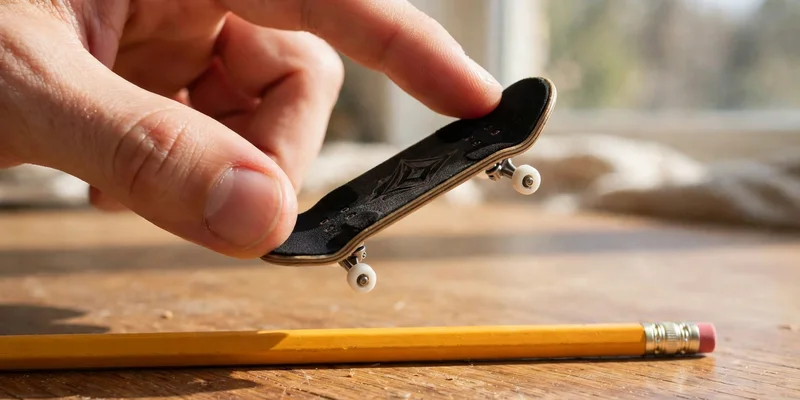
Ten focused minutes a day beats an hour of random trying. Do this drill once a day and count your clean landings.
- Minutes 0 to 2: Warm-up scoops. Scoop the tail lightly five times without popping, just to feel the spin. Then pop five small ollies to warm up.
- Minutes 2 to 6: Small pop shuvits. Do slow, small pop shuvits and aim for a full spin and a clean landing. Count your clean landings out of ten.
- Minutes 6 to 8: Pop shuvit over a pencil. Place a pencil flat on the table and pop shuvit over it. Do not raise the obstacle until you clear it three times in a row.
- Minutes 8 to 10: Rolling pop shuvits. Pop shuvit while rolling forward, land, and keep rolling. Finish with three clean rolling pop shuvits, then stop.
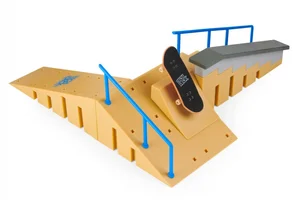
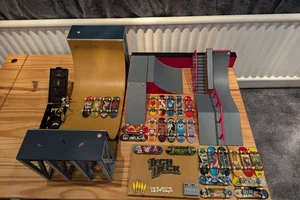
From real use, riders who practise ten minutes a day land a clean pop shuvit in two to four weeks. Once the pencil feels easy, you can build a small home park to practise on. Our Tech Deck Build-A-Park guide shows you which ramps and rails to start with.
What Are the Advantages and Disadvantages of the Pop Shuvit?
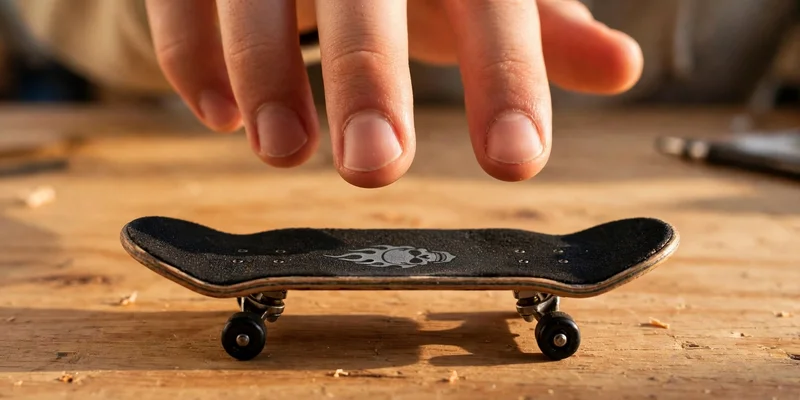
The pop shuvit is a fun first spin trick, but it has a few downsides too. Here is an honest look at both sides before you start.
Advantages
- It teaches you the spin. The pop shuvit is the simplest spin trick, so it teaches you how the board turns in the air. That feeling carries into kickflips and 360 flips.
- You can learn it anywhere. A pop shuvit needs only a flat table and ten minutes a day, so you do not need a skatepark, a ramp, or any extra gear.
- It looks impressive fast. A clean pop shuvit looks sharp even when it is low, so you get a trick worth showing off much sooner than a kickflip.
Disadvantages
- Timing takes time to learn. Most beginners need two to four weeks of daily practice before their pop shuvit spins a full 180 degrees and lands clean.
- It is hard on your grip tape. Daily popping and scooping wear the grip down, so you will need to replace it more often than a casual rider.
- The scoop can feel awkward at first. The sideways scoop is a new motion for most fingers, and it feels strange for the first few days of practice.
What Should You Learn After the Pop Shuvit?
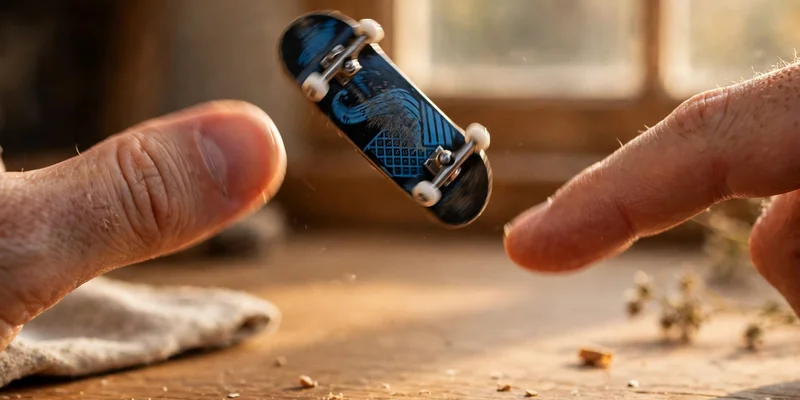
Once you can land five clean pop shuvits in a row, you are ready for the next tricks. Learn them in this order so each one builds on the last.
- How to Kickflip on a Tech Deck. The same pop, plus a flick that flips the board. Do not start it until your pop shuvit is consistent, or the flip will hide your timing problems.
- How to 50-50 Grind on a Tech Deck. The pop gets you onto the rail, and both trucks slide along it. Learn the landing step by step once you can pop with height.
- Tech Deck Tricks: The Complete List. See the full order from beginner to pro in our complete tricks list, and pick your next goal.
What Do Beginners Ask About the Pop Shuvit?
Here are the questions beginners ask most about the pop shuvit. Each answer is short and direct, so you can find your fix fast. If your question is not here, the fix is probably in the mistakes section above.
How long does it take to learn how to pop shuvit on a Tech Deck?
Most beginners land their first small pop shuvit within a few days of short daily practice. A clean, level, rolling pop shuvit usually takes two to four weeks. Practise ten minutes a day rather than one long session a week, because short practice builds muscle memory faster.
What is the difference between a pop shuvit and a shuvit?
A shuvit spins the board on the table without any pop, so the board stays low and drags a little as it turns. A pop shuvit adds the ollie pop, so the board lifts into the air and spins flat before it lands. The pop makes the trick look cleaner.
Should I learn the ollie before the pop shuvit?
Yes. Learn the ollie first, because the pop shuvit starts with the same sharp pop. If you can already land five clean ollies in a row, the pop part will feel natural, and you only need to learn the scoop. If your ollie is still shaky, fix it first.
Why does my Tech Deck spin past 180 degrees?
Your scoop is too strong, so the board keeps turning after it should stop. Scoop more gently, and watch the board as it spins. Catch it the moment the nose points forward again. Slow the whole motion down by half, and the spin will stop on time.
Do I need a special Tech Deck to pop shuvit?
No. Any standard Tech Deck in good condition works for a pop shuvit. Make sure the wheels spin freely and the grip tape is not worn smooth. A board with a stuck wheel or peeling grip will make every trick harder, so fix the board first.
Why does my board flip over when I try to pop shuvit?
Your index finger is probably flicking off the edge of the board instead of staying flat on the grip. Keep your index finger flat and slide it straight toward the nose as the board rises. If the board still flips, slow down and make the scoop smaller.
Can I learn how to pop shuvit on a Tech Deck without a skatepark?
Yes. A pop shuvit needs only a flat table, and most riders learn it at home on a desk or a kitchen table. You do not need a ramp, a rail, or a skatepark for this trick. A smooth, hard surface and ten minutes a day are all you need.
How do I catch the board after the spin?
Keep your hand above the board as it spins, and watch the nose come around. When the board has turned 180 degrees, bring both fingers down over the bolts and catch it as all four wheels touch the table. Bend your fingers slightly on landing to absorb the impact.
Conclusion
So, in this article, we covered how to pop shuvit on a Tech Deck in detail. You learned the finger placement, the five steps, the five mistakes that stop most beginners, and a 10 minute drill that builds the trick day by day. You also saw the honest advantages and disadvantages, so you know what to expect before you start.
Here is my honest advice. Do not chase height in your first week. Spend ten minutes a day on slow, small pop shuvits with a clean catch, and the height will come on its own. Your pop shuvit is the base for every spin trick after it, so a solid pop shuvit pays you back for months.
Now go practise for ten minutes and land three clean pop shuvits in a row. Once you can do that, your next trick is waiting.
TechDeckTrick.com is an independent guide and is not affiliated with or endorsed by Tech Deck or Spin Master.